


I was so excited when I received an invite from omy recently, on a cooking demo by Panasonic to make some homebaked goodies for Christmas. And so, on a Saturday afternoon, I made my way over to the cooking studio at the Panasonic Customer Service Centre, along with a small group of other omy bloggers, to learn how easy it'll be to make some yummy breads with the Panasonic SD-P104 Bread Maker!

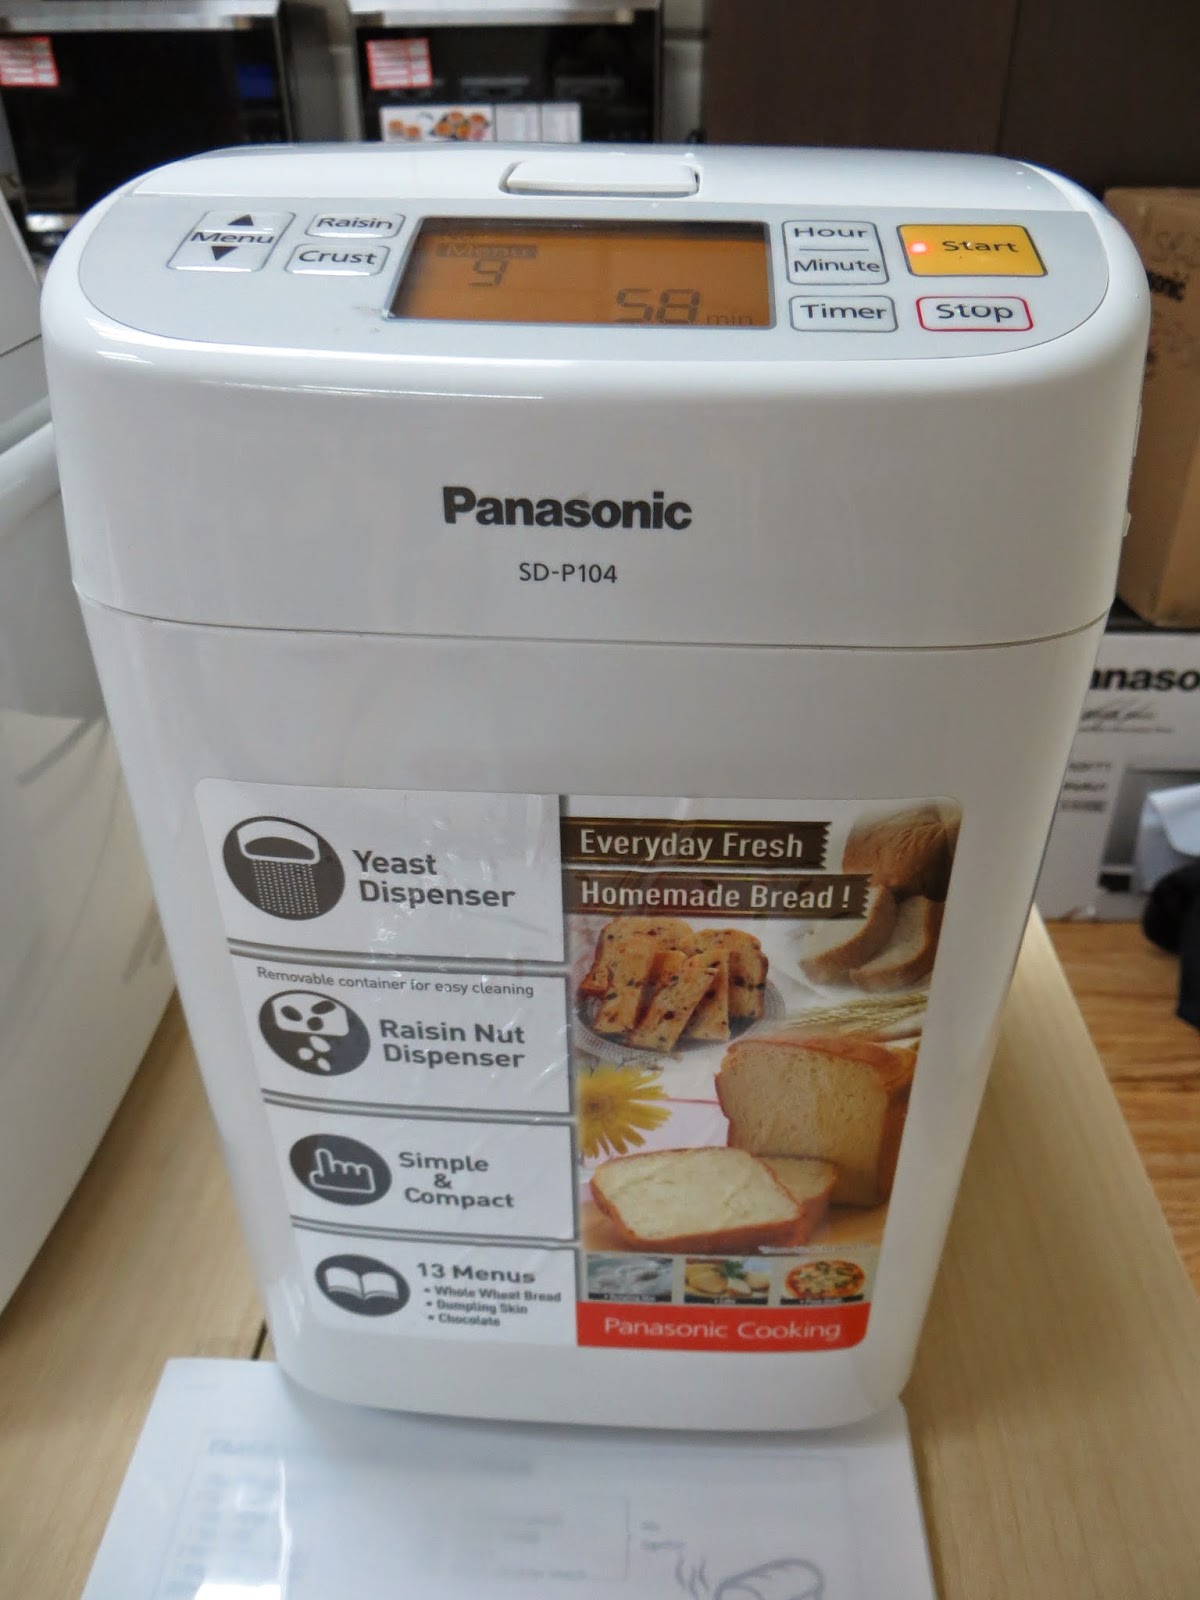
This is actually my first time seeing a bread maker and I was a little surprise to find that it actually resembles an elongated rice cooker. SD-P104 also comes with a handle, which added on to its handy-dandy convenience of being able to bring it around easily.
And what's the plus point of being early for an event, other than being able to snatch the 'circus seats'? You can take as much photographs as you like, without snapping the weird backviews/sideviews/frontviews of any unknowing photobombers.

And yes, that's 3 whole shelves of ovens and microwaves at the back of the cooking studio.

Our cooking mama, Theresa, prepping up the place before the rest of the bloggers arrive. And yes, that's a freshly baked bread loaf you spot back there.


A sneak peak of the ingredients needed for the cooking demo today....

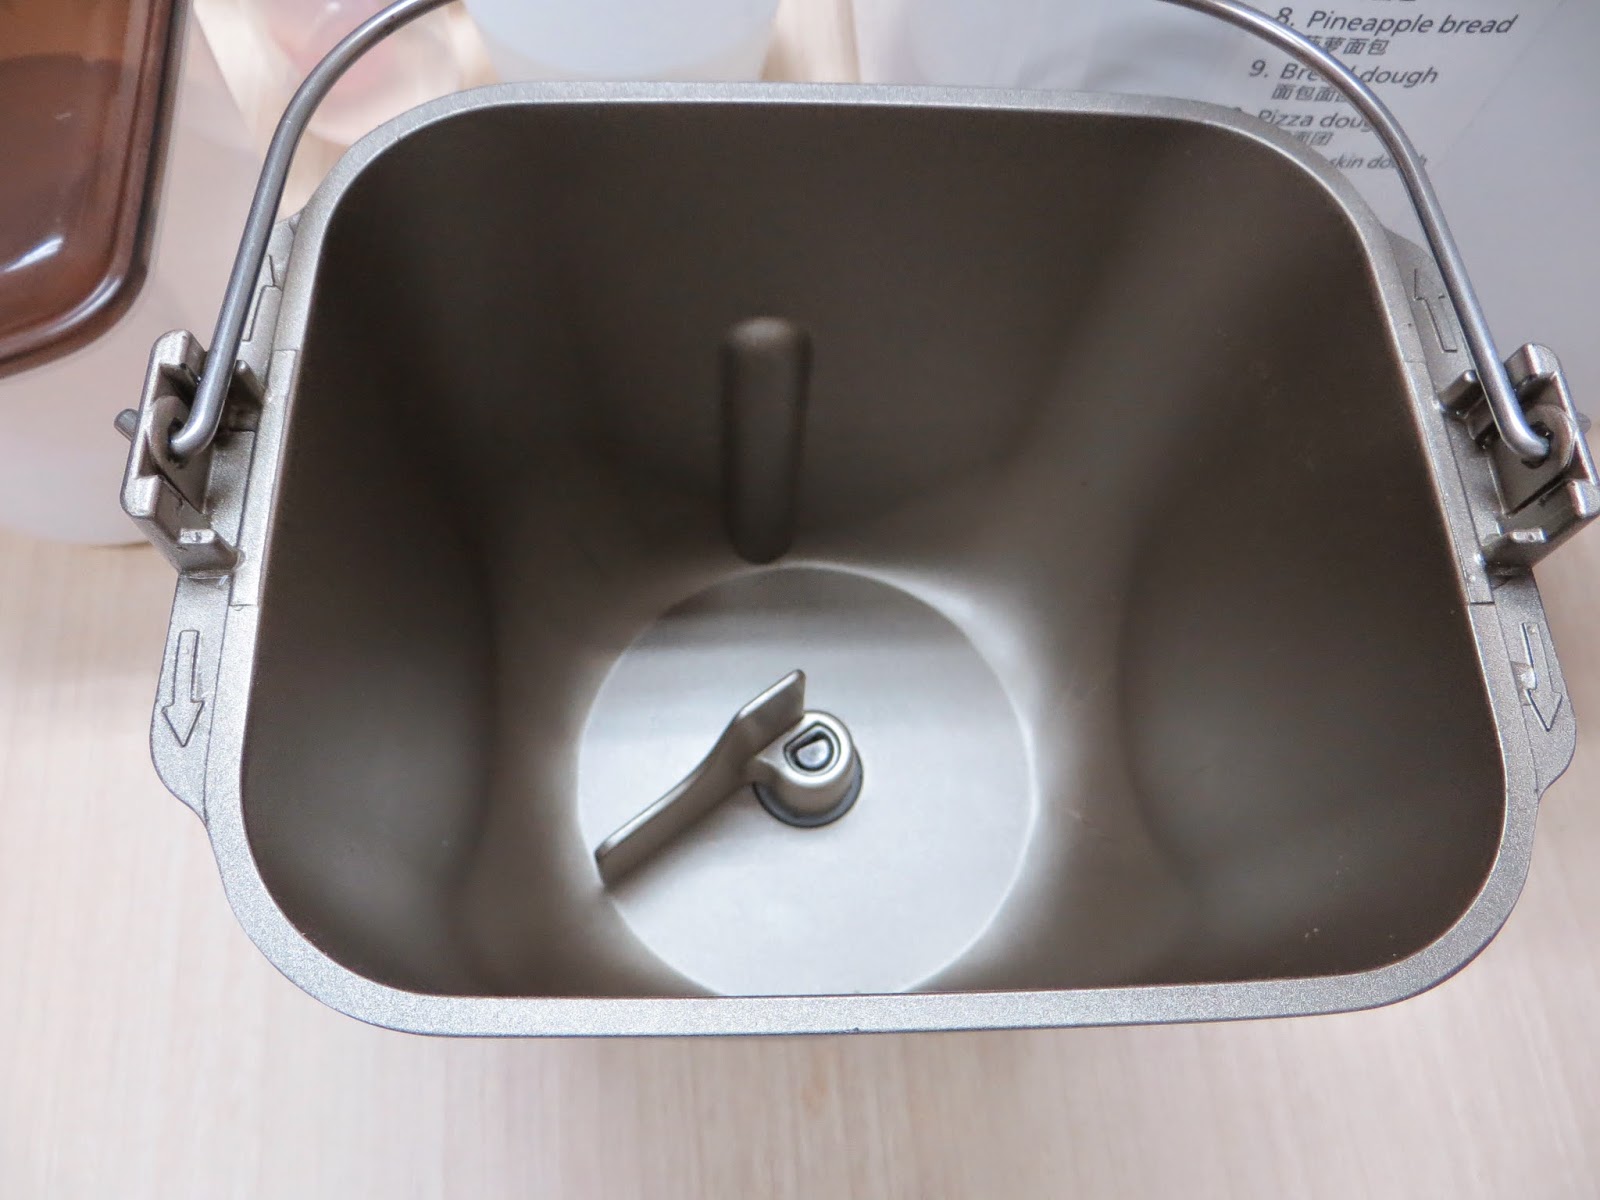
 And other than the control panel and dispensers, the other remaining section of this amazing machine will be this bread pan.
And upon arrival of all bloggers, Theresa got the demo going by introducing to us how the Panasonic SD-P104 bread maker works. It not only mixes, kneads, rises and bakes the bread at one touch of the button, but also help to dispense raisins & nuts (left grey squarish contraption) and instant yeast (right black round contraption) automatically at the proper time.
Not only that, it also allows us to choose the crust colour we prefer (light or standard) and has 13 baking menus (including rice flour bread and dumpling skin) to allow us to bake an array of goodies like bread, dough and cake. And according to Theresa, you can also make your own fruit jam using this bread maker as well!
And inside the bread pan comes with a detachable kneading blade. It's pretty surprising to know that such a small blade is enough to knead through the entire bread dough.

And while Theresa started off the class with showing us how she baked this perfect loaf of Fragrant Mixed Wheat Bread, Clarice, another friendly staff of Panasonic, helped to slice the freshly baked loaf for us to have a taste.


This bread is a little crispy on the outer crust, and totally soft and fluffy on the inside! And with a good dose of sunflower seeds, melon seeds, raisins and black sesame seeds, it totally added on to the sweetness and fragrance.... YUMS!
This is basically what happens after you dump all your ingredients into the bread pan and switch on the bread maker.
And in 2 hours under "Rapid" baking mode...






This bread is a little crispy on the outer crust, and totally soft and fluffy on the inside! And with a good dose of sunflower seeds, melon seeds, raisins and black sesame seeds, it totally added on to the sweetness and fragrance.... YUMS!
And in 2 hours under "Rapid" baking mode...
Viola~
And of course, we had a 2nd serving of this yummy bread loaf! Erm, okay I had a 3rd serving actually. xp
And if you think you can only make bread loaves with the bread maker, no that's not all! As mentioned, you can also make dough using the bread maker.
and working on the ready made dough and allowed to rise further in a oven set at 40 degree C...
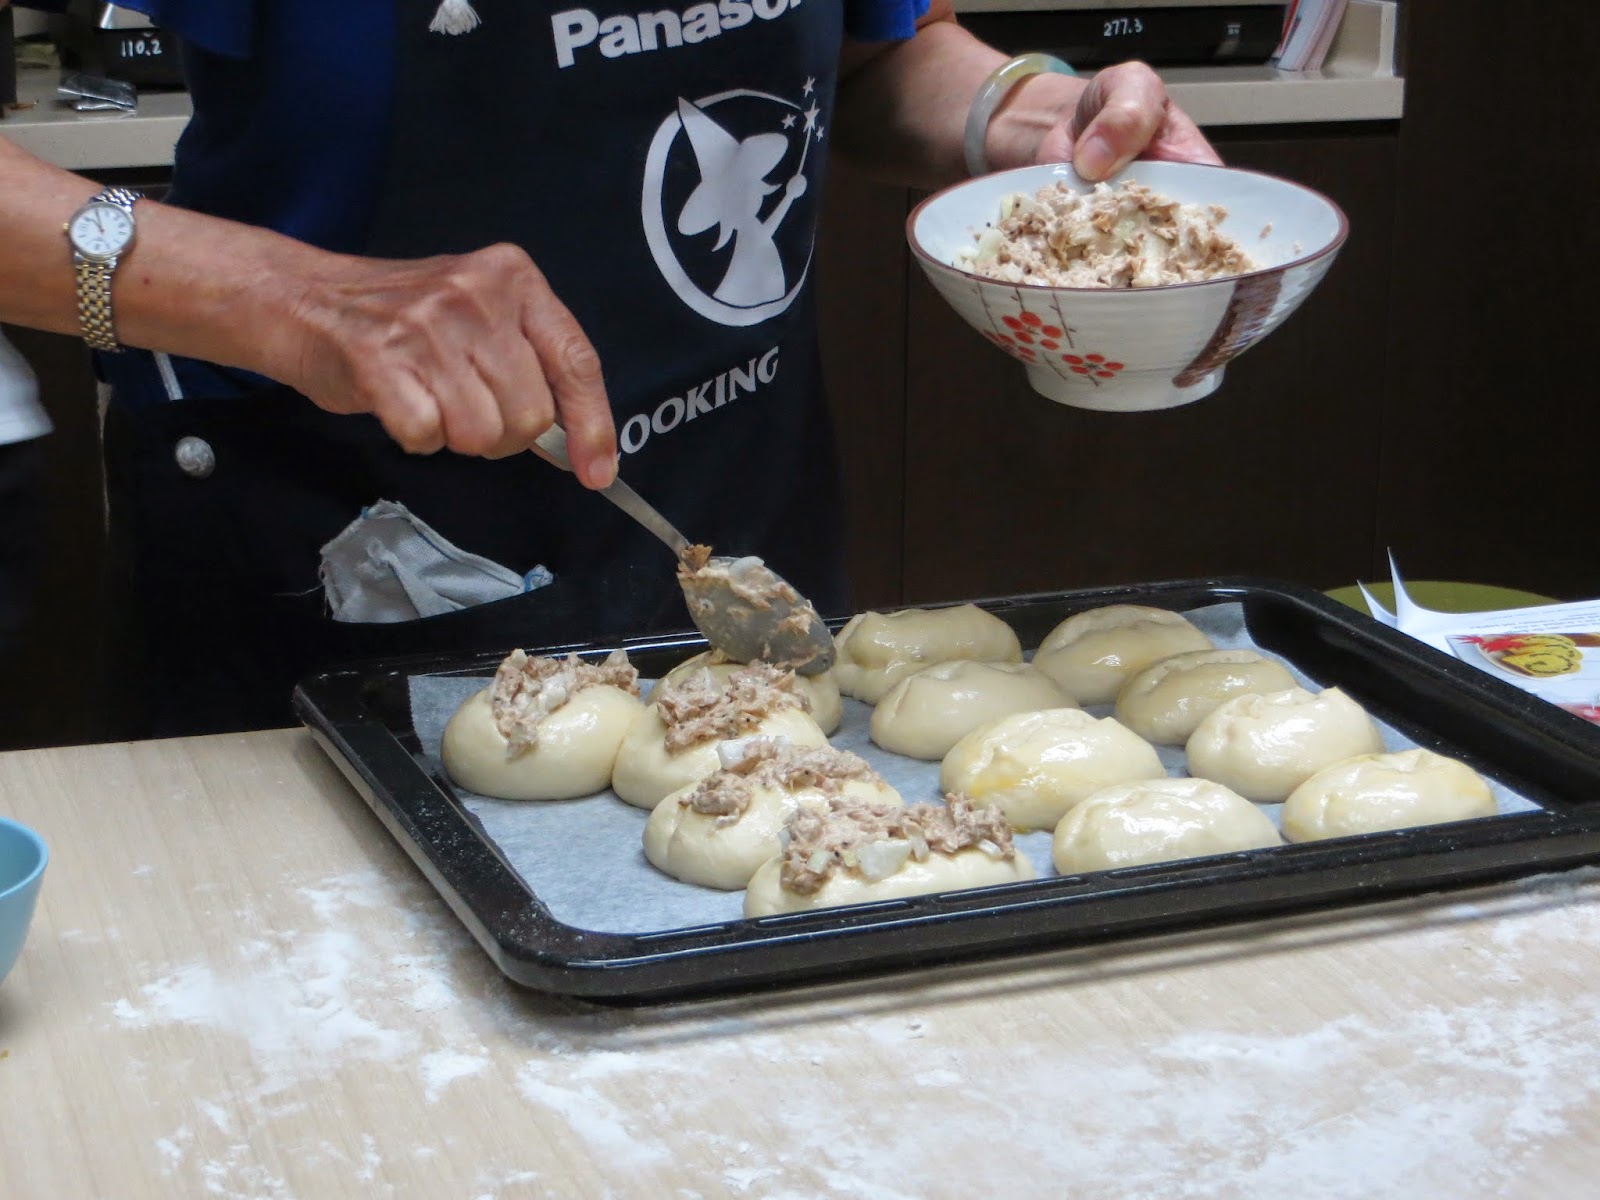
You can get some yummy flavoured bun rolls!
Theresa made cuts on top of the neatly shaped bun and stuffed in a good amount of canned tuna (minced), onions, cheese and a dash of paprika to make some yummy tuna bun rolls.
And even for a non canned tuna lover, this bun rolls were still yums!
And next up... Guess what?
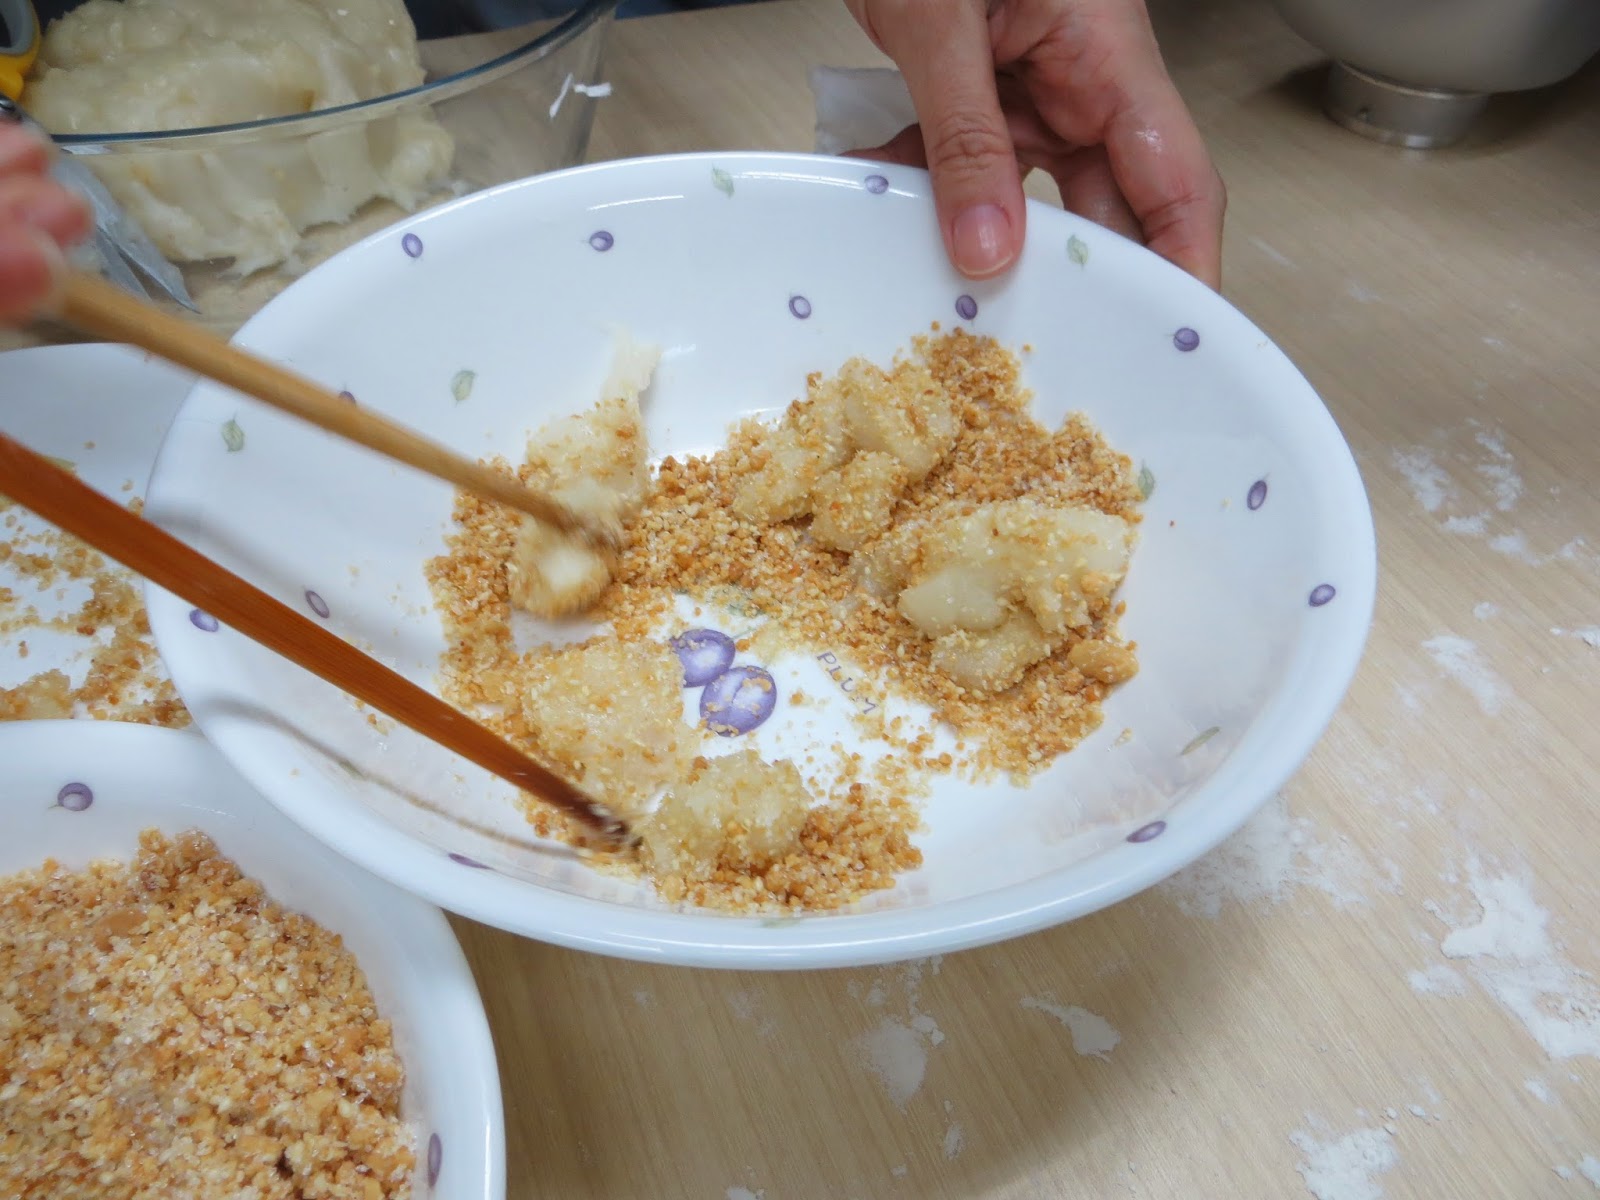
Yes, you can also easily make Muah Chee using the bread maker too! And the hardest part of it will definitely be cutting the ready made lump of muah chee and coating them with crushed peanuts.
However, I felt that the muah chee was a little too soft and not chewy enough for my liking as a huge mochi/daifuku fan.
And our last treat of the day...
Hmm, pizza?
No, it's focaccia bread!
Covered fully with cherry tomatoes, olives and mozzarella cheese, the dough was left to rise at 40 degree C for another 50 minutes before baking.
And viola~
Fresh from the oven, fragrant and fluffy, it's so yummy that even those scalding hot cherry tomatoes couldn't stop our gluttony!
For more information on SD-P104 Bread Maker and other Panasonic products, visit Panasonic's website HERE or their facebook HERE.
Till then,
Mia Foo
.jpg)

.jpg)
.jpg)
.jpg)
.jpg)
.jpg)


