MollyMia Aspire to Inspire before we Expire
Showing posts with label cupcakes. Show all posts

Sunday, 28 June 2015

Mia's Review: Velvet Confectionery [Media Invite]


Over the weekend, I was really glad to be stuffed with nothing else but cakes, along with my blogger-buddies, JanelOYHZ and Andrea over at Velvet Confectionery.

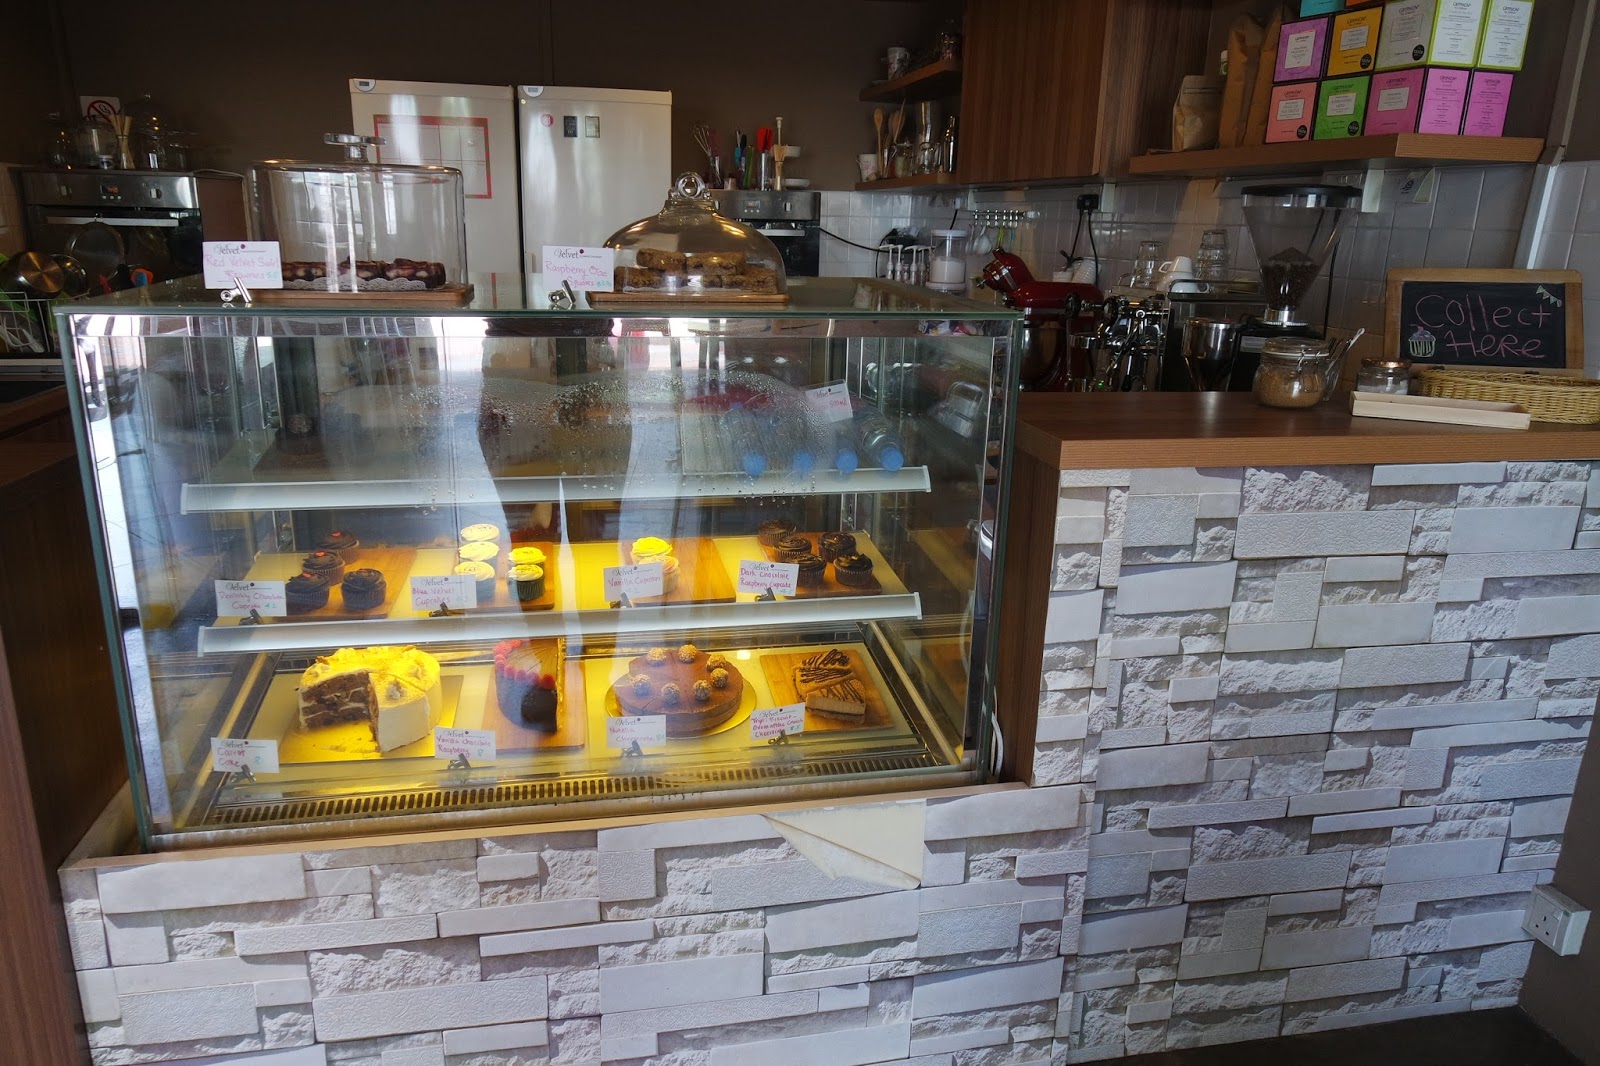
 Located at Watermark Condominium, near Kith Cafe, it's a pretty simple looking, 'no gimmicks' kind of bakery cafe that can give you a river view with pretty simple alfresco seatings. 


But I do agree that the nearby construction works and buildings are a big distraction to a potentially awesome chillax weekend, sipping a cup of coffee 'by the river'. 


With minimal decorations to the cafe, patrons are directly shown the best of what they've got to offer upon stepping into the cafe. Their selection of cakes for the day!
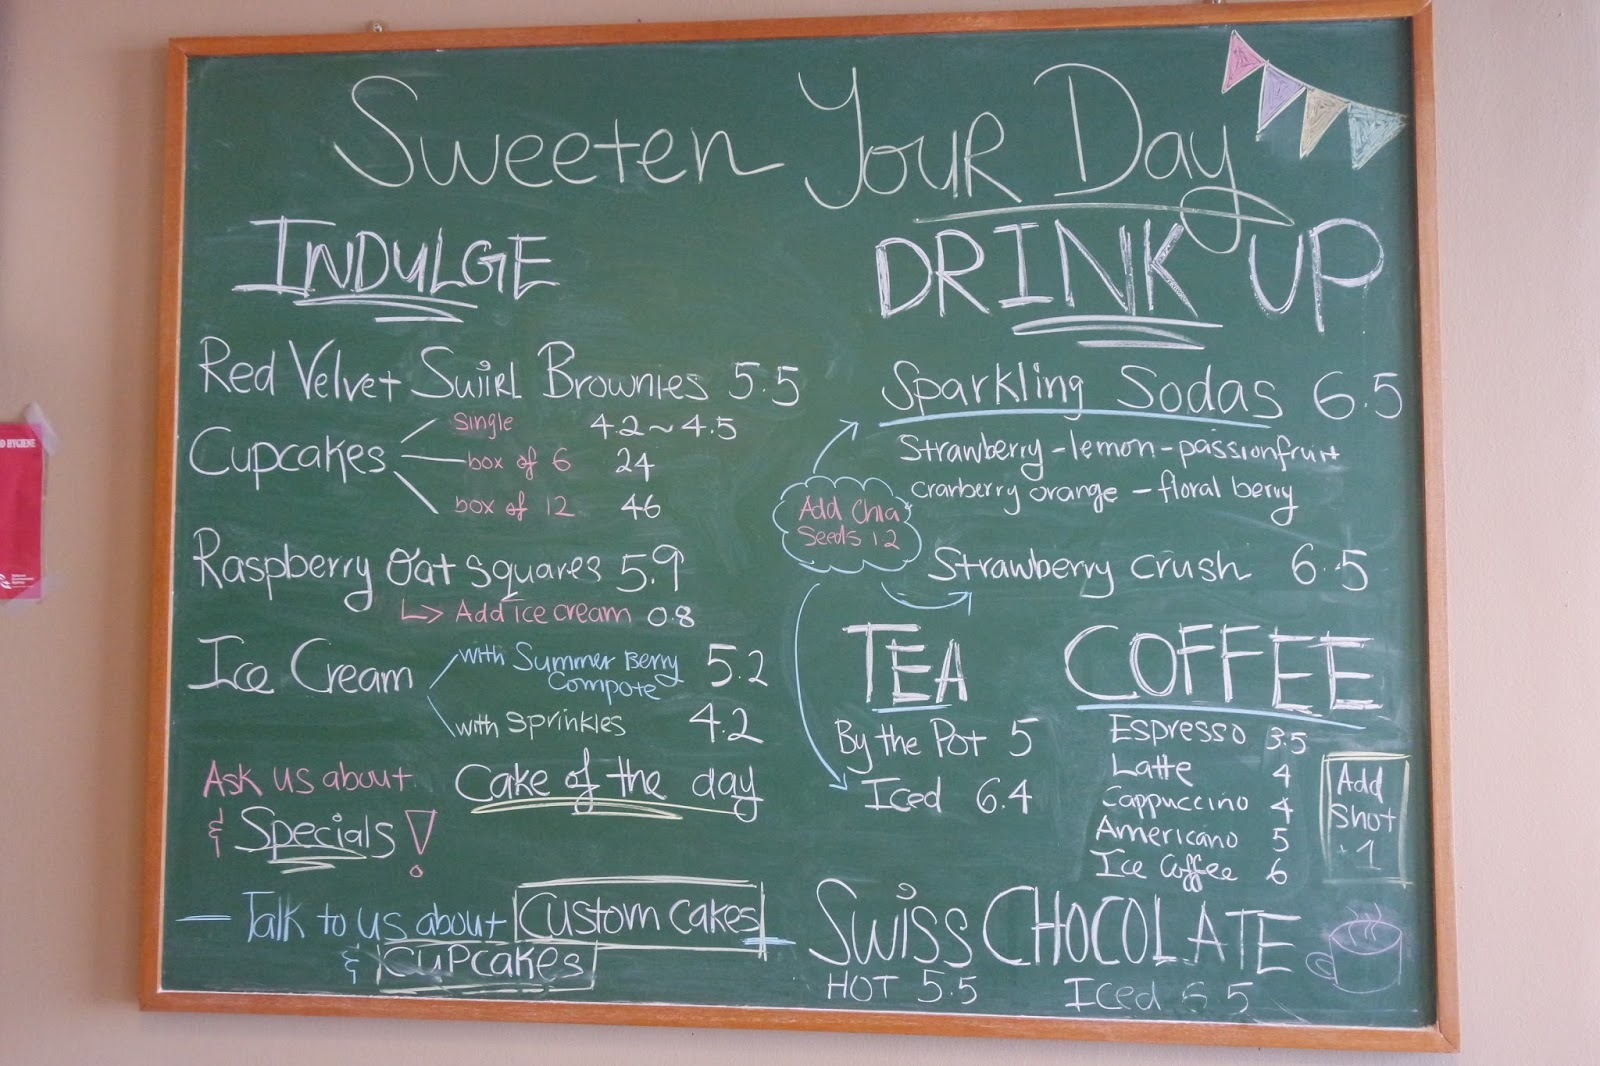

But of course, they do serve pretty good coffees, tea and even some sparkling sodas to quench your thirst on a hot day.


Floral Berry & Passionfruit Sparkling Soda
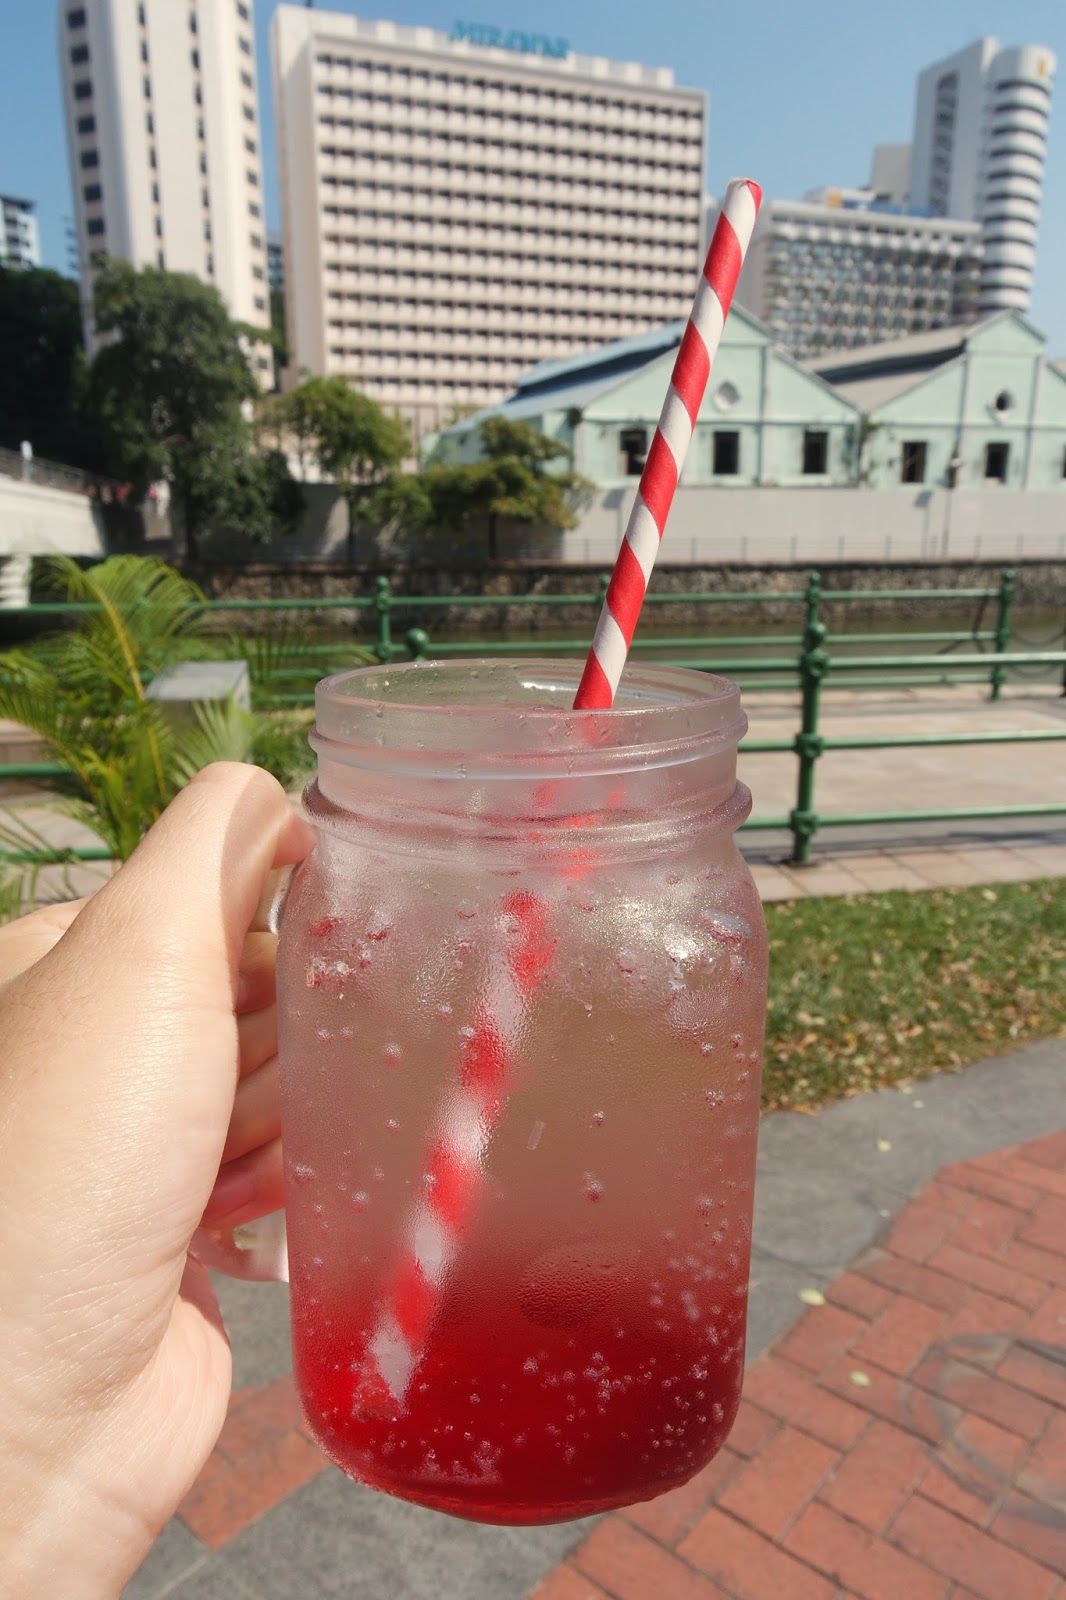

It's a pity the cute straw didn't work out very well, as it kind of melted down in the drink for it's actually a layer of paper wrapped over plastic.
The icy soda was truly a saviour in the unforgivably hot weather and the taste is actually very light and with just a slight sweetness of the berries flavour and with a hint of floral. 

And... here comes the cakes!

Nutella Cheesecake


This definitely has to be my favourite of the lot with it's soft, creamy texture of nutella flavoured cheesecake seated on top of a generously thick later of cookie crumbs based that tasted just like the oh-so-yummy caramalised biscuits. 
Plus, there's even a Ferrero Rocher to up the omph-factor. Can you imagine that?

Carrot Cake


One of their best sellers, this carrot cake is truly of a monstrous serving size! Not a fan of carrot cakes at all, because I believe they're savoury (Andrea did mentioned she has tried a carrot cake elsewhere that's more savoury than sweet too), this carrot cake did kind of surprised me for they're pretty sweet! Stuffed full of carrot bits, raisins and chopped walnut, this will indeed be a popular choice for those who love a sweet carrot cake!

Red Velvet Brownie


A layer of densely packed, moist and slightly chewy brownie with an equally thick cream cheese layer with beautiful red velvet swirls that's chocolatey and yet not overly sweet. A good choice for those cream cheese and red velvet lovers out there. 

Lemon Olive Oil Yoghurt Loaf


Baked without any butter, but substituted with olive oil and yoghurt, this is indeed their more diet-friendly choice for those ladies who's keeping a tight watch on their waistline and yet is losing a battle against their sweets-craving. The omission of butter has given this cake loaf a pretty dense and moist-crumbly texture while it's taste is very lemony, light and not too sweet.

And that's not all, for we also have some cute cupcakes!

Devilish Chocolate Cupcake


I had this with a cup of coffee (they have pretty good coffee too) the previous time I visited and it was a true comfort to my pretty bad (and rushed) day at work earlier. I mean, chocolate and coffee, how can this combination not lift up your mood, huh? 

The cake can be pretty dense when it's just served straight out of the fridge, so do leave it sitting around for a while before digging in. The chocolate cake is actually pretty light in taste by itself but makes a good match when paired up with the rich chocolatey frosting. 
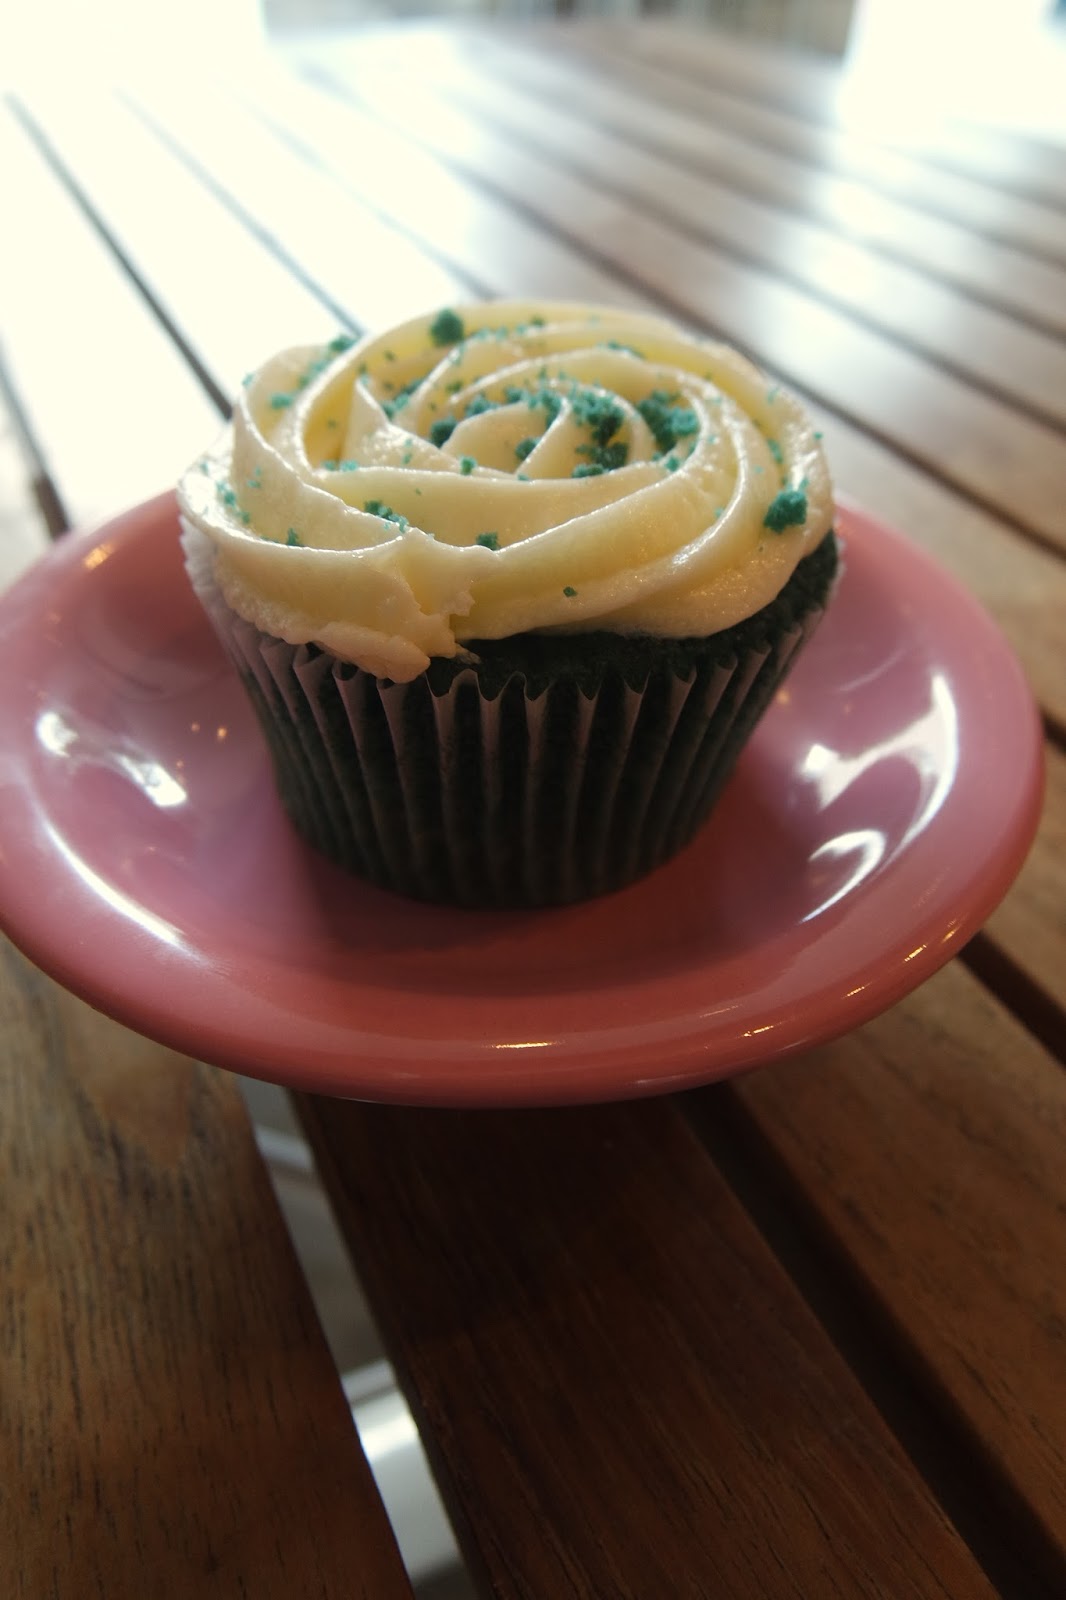

 Blue Velvet Cupcake


This is just like a red velvet cupcake, made blue. Just like the chocolate cupcake, the cake itself taste really light while the cream cheese frosting packed in all the sweetness you'll need for a cupcake. 
Well, kind of sick of looking at a red velvet cake, why not have them blue instead? 

And just a behind the scene shot....

Oyhz came without the mother of my Samsung NX Mini (her big, pink samsung camera) and had to use her trusted iPhone to snap pictures instead. 

For the month of July, Velvet Confectionery will be giving a promotion for all my lovely readers out there. All you have to do is to follow them on Instagram (@velvetconfectionery) and quote "MollyMia" to enjoy your choice of cake with a cup of hot coffee (latte or cappuccino) or hot tea for just $10 on weekdays. 

Velvet Confectionery is located at 7 Rodyk Street, #01-30 Watermark @ Robertson Quay
Opens 1030am - 630pm (Closed on Tuesdays)
For more information, visit their Facebook HERE

Till then,
Mia Foo

Wednesday, 15 October 2014

Mia's Baking: Fondant Cupcakes


Some time ago, I attended a fondant baking class under Bakin Cow (BakinCalf Baking Class) with my girlies. 
I was always intrigued by all those fondant cake decorations and amazed by how pretty the designs those nimble-handed bakers can come up with, but never ever wanted to try it out for myself, knowing how tricky fondant can be to work with. 
However, as a bonding session with the girls, we thought, why not? And so we went ahead with the registration for the entire clique!

First up, I really have to extend my apologies to Shinni, our baking teacher, for we were so late for the class! Almost 45 minutes late, and it got our baking lesson to a slightly gloomy start. However, Shinni was quick to get over our tardiness (which, frankly speak IS a form of disrespect) and opened up to us soon enough to make our private session a fun one, filled with lots of laughter. 

Couldn't help it but snapped a picture of the baby pink KitchenAid. 
I want one too! T.T

The cupcakes we baked for the day was red velvet cupcakes, which recipe I shall not share for this is from a baking class and was a non-sponsored event. 

Oh well, just showing you the butter cream frosting we made and all the frosted cupcakes waiting to be topped up with the fondant decoration. :)
The class entitled every pax to go home with 6 standard sized cupcakes in a box, carrier not provided. 

And here's us (or rather, some of us) going kuku (crazy) over the very 'disobedient' fondant bits and pieces. 

Curious on what's the design theme for the class?
Yes, it wedding theme! 
This is my own creation (every single step painstakingly taught by Shinni, of course). 

And the greater (or greatest) challenges no doubt is the traditional Chinese costumes. Yes, these are definitely NOT my creation, but was Shinni's favourite for the day. She loved the tikopek moustache given to the groom. Hahaha! 

The two main challenges, no doubt has to be the chinese button details on the bride's kua and the silk ribbon on the groom's attire. 
These two were my worst nightmares, ever!

A glimpse of what the silk ribbon ball is made up of. A total of 9 rolled up pointed tip bits, stacked up in 2 layers, 4 on 5, with a ball stuck in the middle of the "flower". 
Sounds easy enough, but they take a million tries to hold their place altogether. 

And the button detail for the bride's kua was also a big challenge as the fondant needs to be rolled as thin as possible to make the button delicate. However, the thinner it is, the quicker it hardens up. So even before I could proceed to roll the strip into a tear drop shape, it has harden up and broke / crack instead. 
Major pull-hair moment. T.T 

And of course, what do you do when you're with your girlies?
Camwhoring time! 
A happy selfie with my completed fondant red velvet cupcakes!

After the workshop, I can further confirm that fondant is really not my cup of tea. Yes, it helps us to create amazingly beautiful designs, but let's face it, they really do not taste fantastic. Plus the more extensive the design, it probably means the more bare fingers kneading of the fondant.

"Kneading, so what? All bread doughs are kneaded with bare hands too."

Yeah, but they get baked at hundred over degree Celsius after, while these fondant goes directly into your tummy. And I haven't even get to the point of how much food colouring gets kneaded into those white fondant to get brightly coloured fondants.

Eh, nope. No thanks, I'm full.

Do not get me wrong, I did not throw all the 6 cupcakes away. It was just the fondants....

For more information on Bakin Cow's products and price list, visit their website HERE.
For more information on Bakin Calf's baking classes visit their website HERE.

Till then,
Mia Foo


Tuesday, 8 October 2013

Mia's Recipe: Japanese (New York) Cheesecake Cupcake

As in my Japanese Cotton Cheesecake post last week, I've mentioned I went on a baking spree that Sunday. Now, to be exact, I went on a cheesecake baking spree. Apart from the cotton cheesecake, I've also baked some NY cheesecake cupcakes. Now I can't really differentiate NY cheesecake against Japanese cheesecake (those sticks selling at Beard Papa), so if you know how to, please tell me!
Now, let's get on with the ingredients so we can get started. 

We will need:

For the crust base
Vanilla Wafers or Digestive Biscuits - 120g
Butter - 40g 
(You might wanna use a bit more butter with Digestives)

For the cheesecake
Cream Cheese - 200g
Caster Sugar - 60g
Eggs - 2 nos.
Fresh Cream - 150ml
Lemon Juice - 1 tbsp.
AP Flour - 3 tbsp.
Butter - 20g

First up, melt your butter in a hot water bath and then place the wafers/biscuits in a ziplock bag and smash them with a rolling pin or any alternatives. Otherwise, you can crush them in a food processor until fine. 

 I crushed my digestives with a wooden spoon, actually. 

 Mix in the melted butter until they resembles wet sand. 

Spoon the wet crumbs mixture into the muffin tin/sillicon cups lined with cupcake liners. I've used 1.5 to 2 tsp. each and then felt that my base was too thin when my cupcakes were baked. Will recommend doubling what I've used (3 to 4 tsp.) on a No. 8 cupcake liner. 
Press down the crumbs firmly into the cupcake liners and leave in the fridge for them to set for at least 30 minutes. 
Meanwhile, we shall prepare the cheesecake mixture.

Beat the softened cream cheese until smooth and add in caster sugar. Mix well.
Add eggs (beaten) bit by bit, mixing well with each addition. 
Add fresh cream and mix well.
Add lemon juice and mix well. 
Sift in flour and mix well. 
Finally, add in butter (melted) and mix well until the mixture is smooth. 
The batter will be pretty runny and liquidy. 
Pour the mixture into the crusted cupcake liners until 3/4 filled and bake at 170 degree Celsius for 20 minutes. 
Do not check the readiness of the cupcakes by inserting a toothpick, expecting them to come out clean, because they shouldn't!
I gauged by seeing my cupcake tops getting slightly browned (some didn't because my oven sucks) and developing this layer of sheen over the top. If you tap the top of the cupcakes, they should have this subtle 'jiggly' texture to it. 

Cool the cupcakes down to room temperature and chill them in the fridge for at least 3 hours before serving. 


If you can see, the insides remain very soft and moist. I didn't do a good job with tapping out the air bubbles, though. :(

Till then,
Mia


Tuesday, 1 October 2013

Mia's Recipe: Japanese Cotton Cheesecake

On Sunday, I totally went on a crazed baking spree and baked 2 kind of cheesecakes. One of them is the Japanese Cotton Cheesecake (Cupcakes). Sounds good? So let's get on with the ingredients so we can get started. 

We will need: 
Cream Cheese - 200g (I may experiment with the usual 250g tub another time)
Milk - 200ml 
Butter - 60g
Eggs - 6 nos.
Sugar - 140g
Flour - 60g (I used AP, but I believe cake flour is the best choice)
Corn Starch - 20g

First, heat up the milk in a pot over heat and melt in the cream cheese and butter until mixture turns smooth and leave it to cool.
Separate the egg yolks from the whites (make sure absolutely no traces of yolks get into the whites) and beat the whites till frothy. Add in sugar in 3 batches, beating in between each additions and then continue beating on high until meringue stage (peaks formed). 

I beat mine for 20 minutes in total, on mid-high speed. 

By this time, your cream cheese mixture should be cooled. Add in the egg yolks and mix until well combined. 
Sift in the flour and corn starch and mix well. 
Next, temper the cream cheese mixture by adding in 1/4 to 1/3 of the meringue and stirring until well combined (very important!) 
Pour the tempered cream cheese mixture back into the meringue and fold lightly to combine. 
Take note not to over mix this final mixture, if not your cakes will not come out fluffy and 'cottony'! 
 Scoop the batter into your muffin tins lined with cupcake liners (I did 2.3 tbsp for each no. 8 sized liners) and bake them over a hot water bath at 160 to 170 degree celsius for 20 to 25 minutes, or until the top is nicely browned. 

Baking over hot water bath simply means pouring some boiling water in your baking tray before sitting your muffin tins directly into the water, but making sure they're not immersed. 
I baked my cupcakes at 160 degree celsius for the first 20 minutes before turning up my heat to 170 degree celsius when i realised my top were still pretty 'white'. I want to get my top nicely browned and was worried that continuing to bake them slowly at 160 might dry out their centre. 

As you can see,  my cupcakes shrank pretty bad. This was because I baked mine in 2 batches and I must take out this first batch before I can put in my 2nd batch. They immediately collapsed and shrank when i set them out on the cooling rack, due to the sudden drop in temperature. 
For my 2nd batch, I decided to off the mains after 22 to 23 minutes (instead of 25 minutes) and let the cupcakes cool slowly in the oven itself. The shrinkage was less obvious.

 And here's a shot of how the middle looks like. Extremely fluffy and moist. :)

Till then,
Mia

Sunday, 22 September 2013

Mia's Recipe: Maccha Marble Castella Cupcakes

Oh yes, it's Sunday again. Which means, baking time! :)
This time, I've decided to give kasutera (AKA Castella) a go, a honey flavoured sponge cake from Nagasaki, Japan. I've also decided to give it a twist and add some Maccha flavour to it and give it some marbling details (even though I kinda failed at that). 
Nevertheless, let's get down to the ingredients we'll need. 

We will need:
1. Eggs at room temperature (very important) - 3 Nos.
2. Caster sugar - 90g
3. Flour (Preferably Bread flour, if not, AP Flour) - 90g
4. Milk - 2 Tbsp. (30 ml)
5. Honey - 1 Tbsp. (15ml)
6. Green Tea powder - 1 Tbsp. (or up to personal preference)
7. Honey glaze (Some honey dissolved in water)


Very simple, right? I bet many of you have all the necessary ingredients lying in your kitchen already! :) This recipe should give you 10 to 12 cupcakes (I got 11). So let's get down to the procedures. 

First, pre-heat your oven to 160 degree Celsius. 

Warm up your milk and dissolve the honey and set them aside. You can do so in a pot over heat or just a simple double boiler (immersing the bowl of milk and honey in a bowl of boiling water). 

Sift your flour 2 to 3 times (I did mine thrice) and set them aside. You can choose to sift once or twice first, then sifting the final time directly into the wet mixture later on. 

Next up, crack your eggs into a large bowl and whisk them until frothy. Make sure your eggs are at room temperature, and make sure your bowl is large enough. The end product of the beaten eggs can be 4x the volume and if your bowl isn't big enough it'll be really hard folding in the dry ingredients. 

Heat up a pot of water until it boils. The pot should be big/small enough for your bowl to sit inside snugly and the water level shouldn't be touching the base of your bowl. This will be your double boiler.

Add in the sugar, bit by bit (I did so in 3 additions) and continue whisking until the sugar has dissolved and the mixture turns pale yellow and frothy. Then, add in the honey milk mixture and sit the bowl over the double boiler and continue whisking at high speed until soft peaks form. The point of heating the egg mixture is to allow it to form stable peaks, so do not try to skip the double boiler. The reason why heat is required is because unlike pure egg white mixture, the presence of yolk acts as an emulsifier and it'll be tough to beat the mixture until stable peaks form. Brace your arm and whisk away, I did mine with my hand-held mixer for about 15 minutes at least, in total. 

Add (or sift, if you haven't completed 2/3 times) in the flour and fold the mixture until well combined. Do not stir or overmix as it'll deflate the peaks too much and you might end up with dense, bread like cakes. Remember, there's no butter in this recipe and all the fluffiness is going to depend on the meringue you've beaten up.

Add 1 tbsp. of hot water to the green tea powder and stir to dissolve. 

Separate out 1/3 of the egg/flour mixture into a smaller bowl and add in the green tea mixture. Fold well until fully combined. 


Line your muffin tin or sillicon cups with cupcake liners and spoon the mixtures in tbsp by tbsp to create the layered effect. For lazy people (like me) you can choose to do a maccha surprise centre castella cupcake too, by just adding a dollop of the maccha batter into the centre. 

When all liners are filled up, insert a skewer stick and run it around to get ride of any air pockets within. It can also help to give your layers a pretty marbling effect. Tap the tin/cups on the table for a few times to let the bubbles rise and send them to bake at 160 degree Celsius for the first 5 minutes, before turning down the heat to 150 degree Celsius and bake for another 15 minutes. 
Do tweak either the baking time or the baking temperature depending on your cupcake sizes and oven specifications. I find that my cupcakes are slightly overbaked (lost quite a bit of the distinctive moistness of a castella cake) and I might try 140 degree Celsius the next time I make them, instead of 150 degree Celsius. 

The idea of baking them first with higher temperature is to allow the top to brown first before finishing up with the rest of the baking process. However, if you find that your top has gone too brown and your cake isn't fully baked yet, cover the top with some parchment paper and continue to let them bake until a toothpick inserted comes out clean. 

Once out of the oven, glaze the top of each cupcakes with some honey glaze for more flavour. 

 
Lay your cupcakes out on a wire rack to cool until they're warm enough to handle. Then, wrap them up with cling wrap and let them cool down completely in the refrigerator, preferbaly overnight or at least for 2 hours. This helps the flavour to set while the cake cools. 


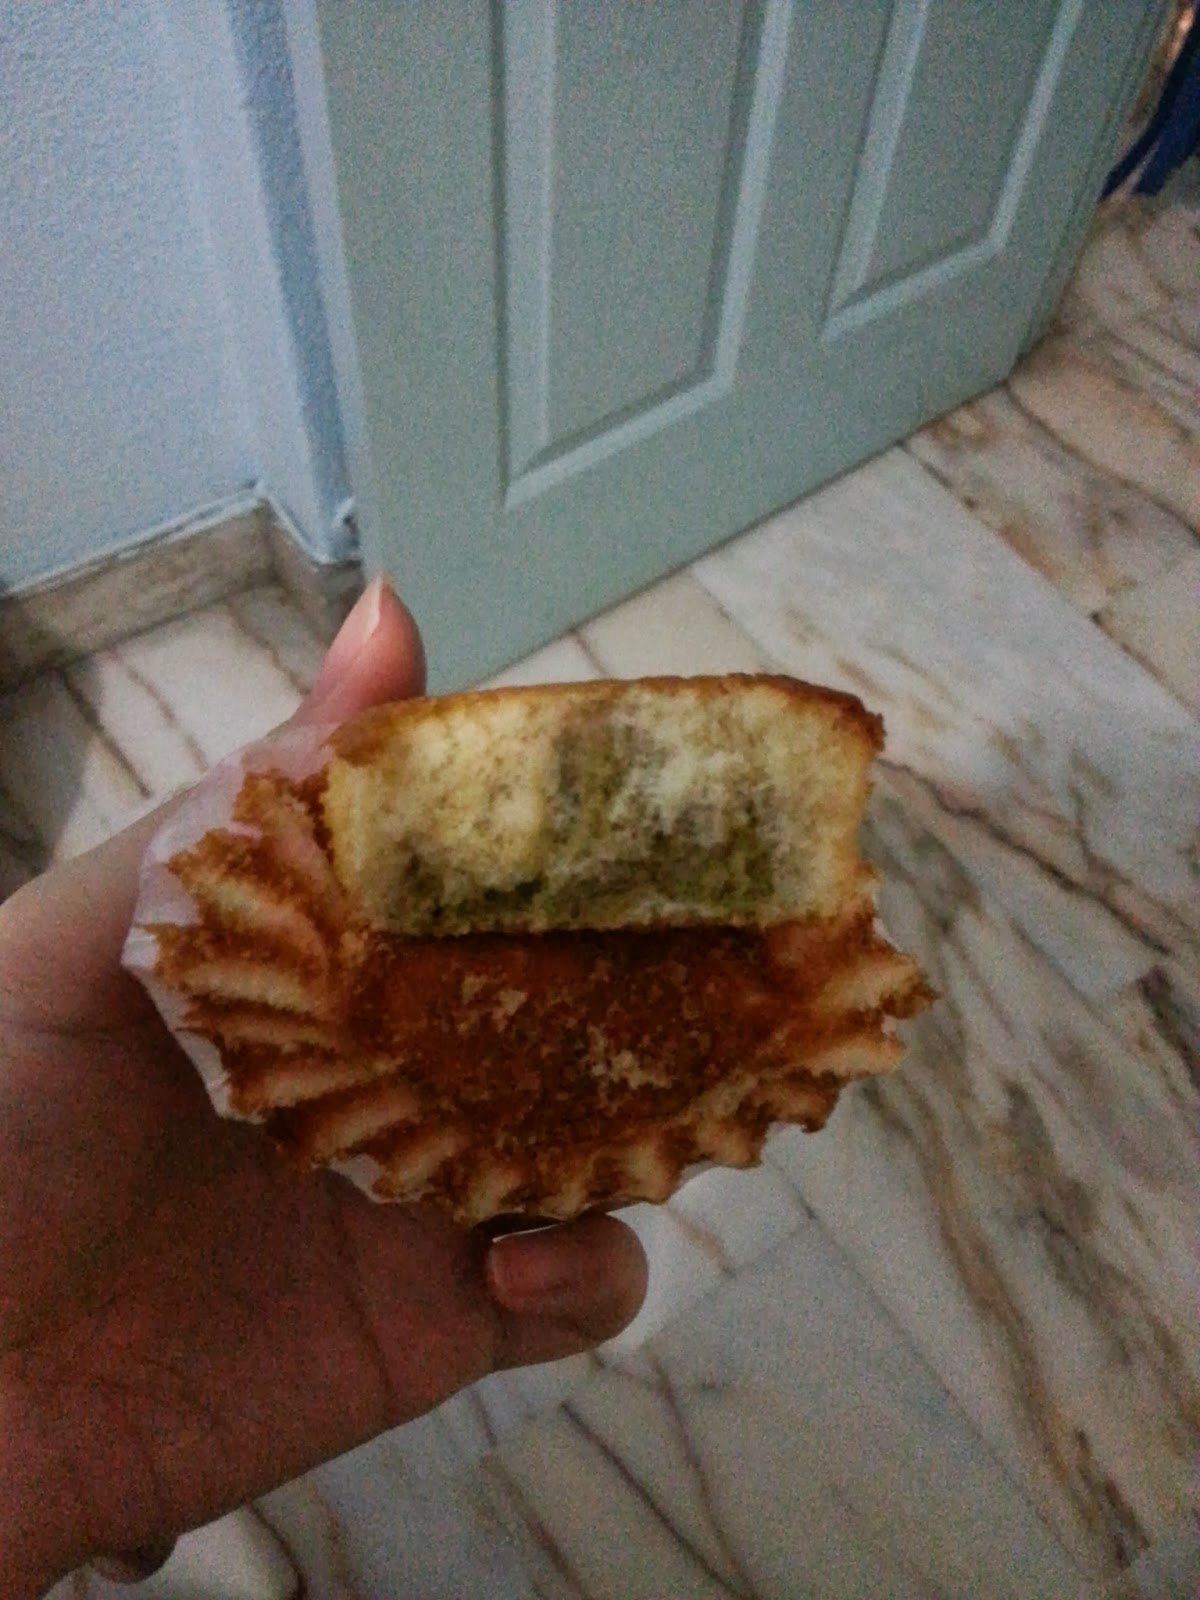
And that's how my castella cupcakes turned out, rather spongy with a springy bite, and with strong sweet honey taste and a slight hint of green tea fragrance. I could have doubled my portion of green tea for stronger maccha taste, so if you're planning to try this out, do take note. :)

Till then,
Mia