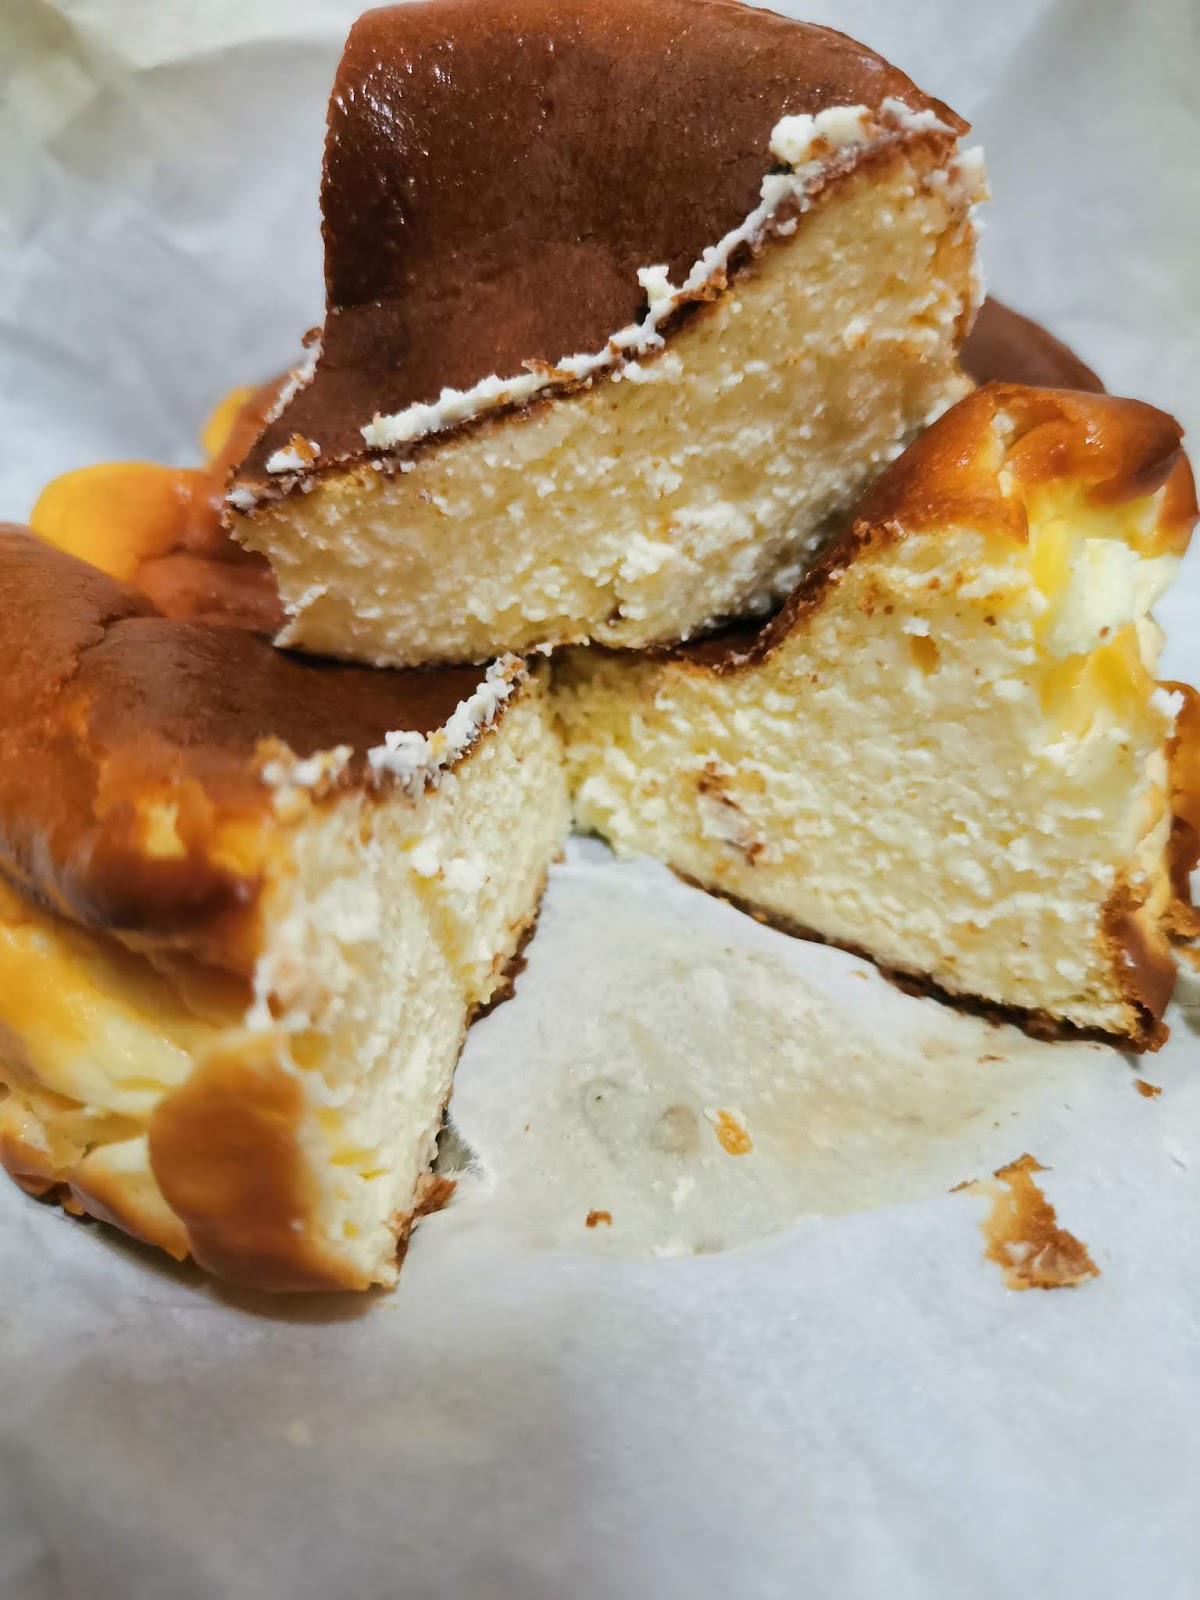
Yes, I've done it again! The "Burnt Basque Cheesecake" I've tried a while back, but this time with a BISCUIT BASE!

And I'm not sure why, but cream cheese seems to be sold out islandwide. I've tried Cold Storage, NTUC Fairprice and Sheng Shiong but there's no cream cheese of any sort (not even the spreadable kind) to be found. Is the whole of Singapore making cheesecakes now?
I can't even find Cottage Cheese (yes, you can make cheesecake with cottage cheese too, if you don't mind their gritty texture or you can push them through a sieve to smoothen them out), but managed to find a tub of Ricotta in the end. So I thought, why not?
It also turned out "better" for me in the end, as I found out (after eating the whole cake in one seating with the HB) that Ricotta has about half the calories of cream cheese, hence so much healthier and diet friendly. YAY!

So let's get over with the ingredients, so we can get started:
For the cheesecake (around 5 - 6 inch cake tin):
250g Ricotta Cheese, soften at room temperature
100ml heavy cream
(I used Lite, as it's the ONLY one I found... So, yay for more calories saved!)
2 eggs
1 tbsp Honey
45g sugar
(I used icing, but you can use castor too)
10g corn flour
For the biscuit base:
65-70g digestive biscuits (or any biscuits of your choice)
30g salted butter, melted
1 tbsp (around 20g) low fat greek yogurt
(add enough yogurt to get your biscuit crumbs to wet sand consistency)
First up, line your cake tin with a sheet of CRUMPLED parchment paper. Just press down the parchment paper along the sides of your cake tin by folding them down along the sides onto each other (so you'll get the distinctive messy folds along the sides of your cake too). Make sure you leave about an inch or two of overhang above the edge of the tin as the cheesecake may rise above the tin while it bakes (depends on how full you fill up your tin).
In a small food processor, crush up the digestive biscuits into find crumbs and then add in the melted butter and greek yogurt. Pulse until everything is well combined and the crumbs resembles the consistency of wet sand. Then, pour the crumbs into your lined cake tin and press them down firmly to form the base. Bake for 5 to 10 minutes at 180 degree Celsius and then set aside to cool down.
In a large bowl, add in the soften ricotta cheese and give it a quick whisk to loosen it up before adding in the sugar. Whisk until everything is well combined and there's no more sugar crystals in the cheese, before mixing in the eggs, one at a time. Make sure the 1st egg is well incorporated before adding in the 2nd one. Then, add in the honey and heavy cream and mix until well combined. Finally, add in the corn flour and mix until you get a smooth, homogeneous batter.
Pour the batter over the pre-baked biscuit base and bake them in the airfryer (or other similar appliance, like a convection oven) at 180-200 degree Celsius for 25 to 30 minutes until the surface is burnt to your liking. Do note that the cooking temperature and timing will differ greatly, depending on what type of appliance you're cooking your cheesecake in, and how you'll like your cheesecake to turn out in the middle.
But one thing for sure, is that if you're baking your cheesecake in a conventional oven (top and bottom heating), you CANNOT add the biscuit base as it'll burn. You'll only want the surface of your cheesecake to burn, not the biscuit base, that's not going to be pleasant.

As my convection oven is pretty "weak", it actually took me nearly 40 minutes at 250 degree Celsius to get the surface to burn. And of course, the middle of my cheesecake is fully cooked through.

Somehow, I feel that using Ricotta instead of cream cheese made the cake somewhat, lighter and less cloying, which I prefer. Who knows, I might just stick to using Ricotta for all my future cheesecakes!

And because my cake tin is actually smaller than 5 inch (they're 4.5"), I got an additional 4 minis, after filling up my tin to nearly 90% full.
Till then,
Mia Foo