


Yes, after contemplating about it for so so so long (I first came across a youtube video of this cake waayyy before it started appearing in our local cafes/bakeries, and had wanted to try it back then) I finally tried it.

The (once very) trendy Burnt Basque Cheesecake, which ended up being more golden then burnt.
But anyway, let's get over with the ingredients to get started!
To get 1 small 5' - 6' cake, you'll need:
To get 1 small 5' - 6' cake, you'll need:
227g cream cheese, soften
(I used Cowhead, if you're using Philadelphia then 250g is fine too)
45g sugar
(I mixed 15g stevia and 15g icing sugar)
1 tbsp honey
100ml whipping cream
2 medium eggs
10g all purpose flour
First up, pre-heat your oven to 220 degree Celsius. It's very important that you pre-heat your oven first because of the higher than usual temperature you need to get, plus it takes literally just minutes to put your cake batter together. If you're quick enough, you might even finish the batter before your oven is pre-heated! >.<
Anyway, after getting the oven out of the way, line your cake pan with a piece of parchment paper. There's no need to line it to size, but just roughly push a square/rectangular sheet of parchment into your pan and let the edges fold onto itself at the sides of the cakepan.

Do keep around 3' of overhang upright (shown in picture) to 'catch' the cake as it rises in the oven during baking.
Now, making this cheesecake can't get any easier, and you can easily make it in 1 bowl.
First up, beat your soften cream cheese in a large bowl to loosen it up before beating in the sugar until well combined. Then beat in the eggs, one at a time, until the mixture is well combined.
To the mixture, add in the honey and whipping cream and mix again before finally adding in the flour and mixing until you get a homogeneous mixture.
Pour the mixture into your lined cake pan and let it bake in the oven at 220 degree Celsius for 10 minutes, before reducing the temperature to around 200 degree Celsius and bake until the surface of the cake is browned/burnt to your liking.
After the cake is done, leave the door of your oven ajar and allow the cake to cool completely before letting it chill in the fridge overnight (or at least 4 hours) for the cake to set.
Do take the cake out from the fridge and allow it to come up to room temperature before eating though.
Anyway, after getting the oven out of the way, line your cake pan with a piece of parchment paper. There's no need to line it to size, but just roughly push a square/rectangular sheet of parchment into your pan and let the edges fold onto itself at the sides of the cakepan.

Do keep around 3' of overhang upright (shown in picture) to 'catch' the cake as it rises in the oven during baking.
Now, making this cheesecake can't get any easier, and you can easily make it in 1 bowl.
First up, beat your soften cream cheese in a large bowl to loosen it up before beating in the sugar until well combined. Then beat in the eggs, one at a time, until the mixture is well combined.
To the mixture, add in the honey and whipping cream and mix again before finally adding in the flour and mixing until you get a homogeneous mixture.
Pour the mixture into your lined cake pan and let it bake in the oven at 220 degree Celsius for 10 minutes, before reducing the temperature to around 200 degree Celsius and bake until the surface of the cake is browned/burnt to your liking.
After the cake is done, leave the door of your oven ajar and allow the cake to cool completely before letting it chill in the fridge overnight (or at least 4 hours) for the cake to set.
Do take the cake out from the fridge and allow it to come up to room temperature before eating though.
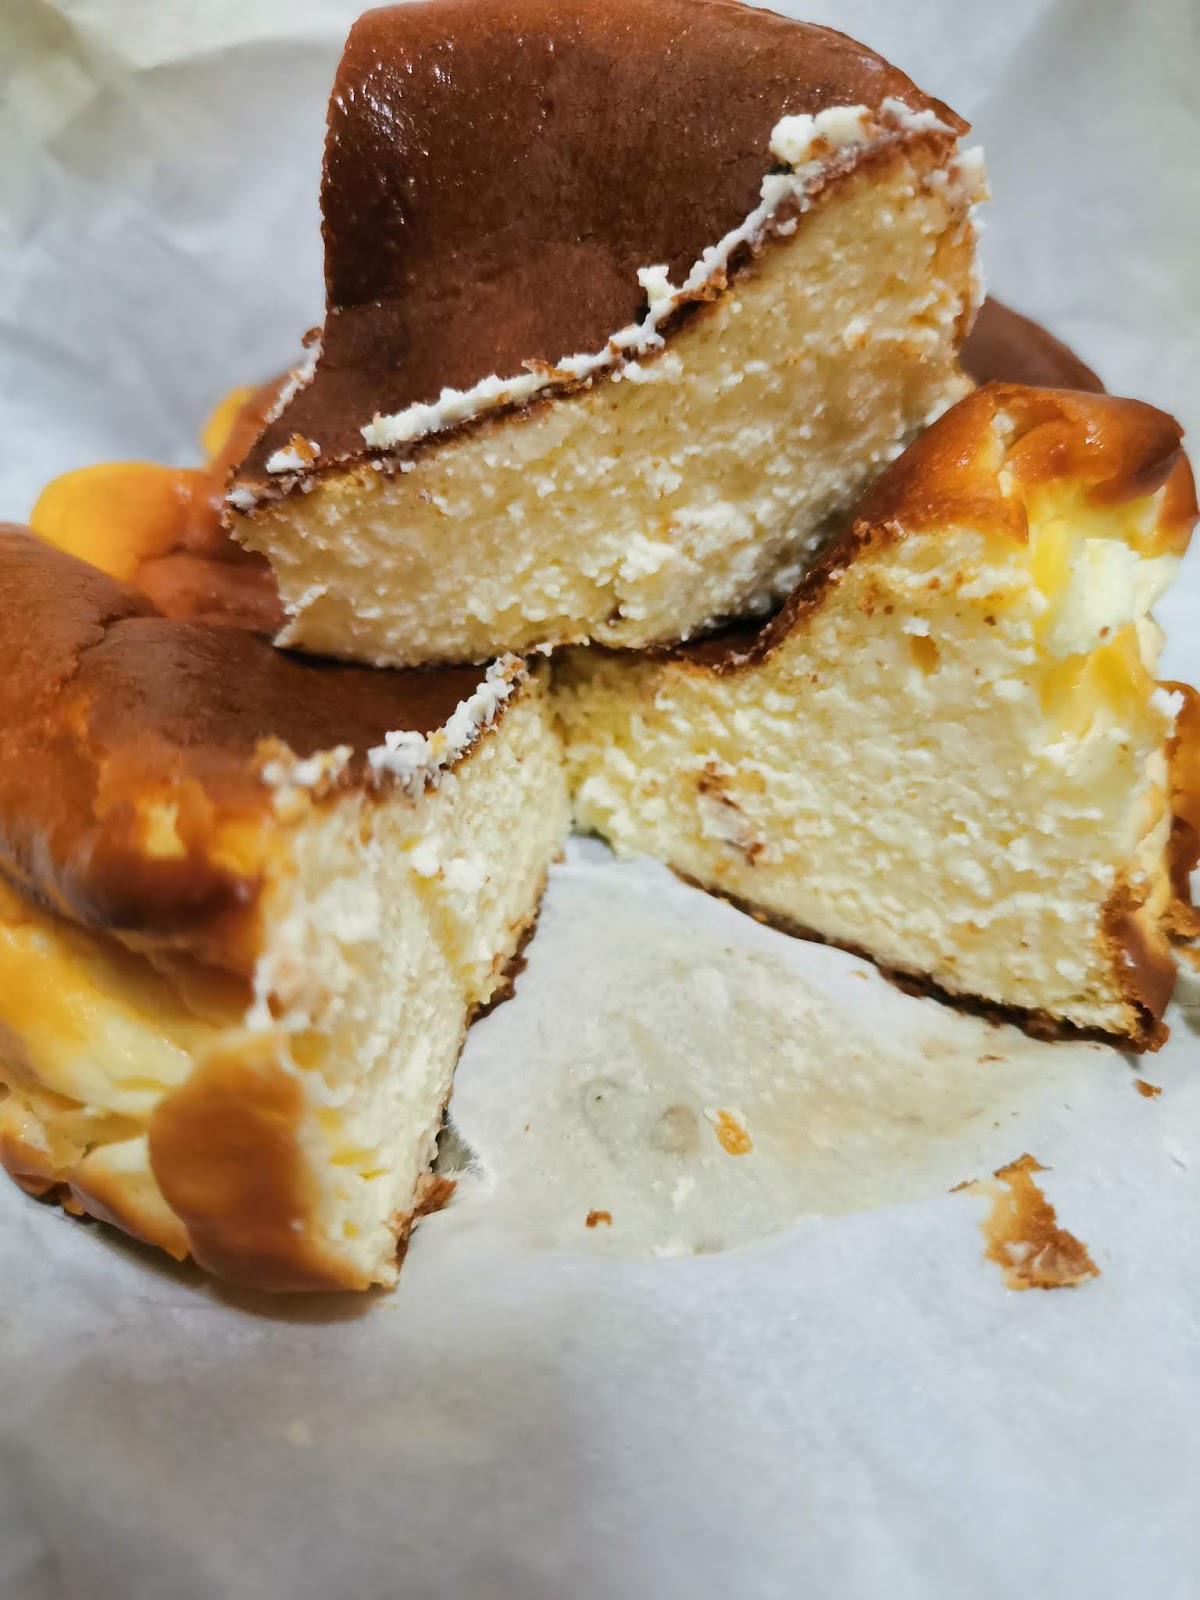
Tadaa~
Rich and creamy with a slightly caramelised taste at the "burnt" edges, it's no wonder there's so much hype for this cake!
If you're after the molten, lava centre effect, perhaps you can tuck into the cake once it's cooled and without chilling in the fridge, but don't quote me for this as I've not tried it.
And I don't really understand why would you want a molten centre for this cake either, this is no cheese tart nor chocolate cake.
edit: I've made a lower calorie version (and added biscuit base) using Ricotta HERE
Till then,
Mia Foo


